

As a prominent supplier of FFS Bag Flexo Printing Machines, I have witnessed the impact of these machines on the packaging industry. One crucial aspect that often goes unnoticed is the printing plate installation process. In this blog, I'll delve into the details of what this process entails and why it's so vital for the efficient operation of your FFS Bag Flexo Printing Machine.

Understanding the Basics of FFS Bag Flexo Printing Machines
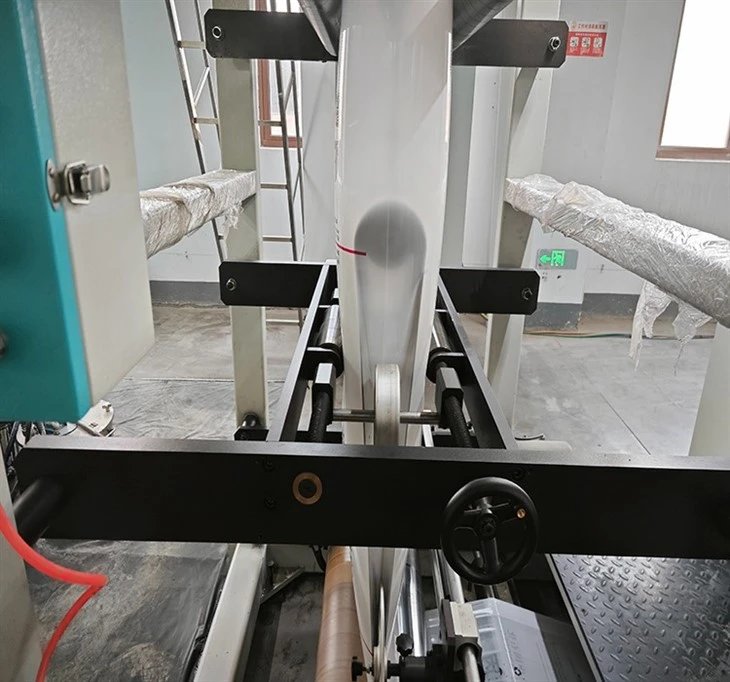
Before we dive into the printing plate installation process, let's quickly recap what FFS (Form-Fill-Seal) Bag Flexo Printing Machines are. These machines are designed to form bags from a roll of film, fill them with products, and then seal them, all in one continuous process. Flexographic printing is used to add high-quality graphics and text to the bags. This type of printing is known for its versatility, speed, and ability to print on a wide range of substrates, making it ideal for packaging applications.
Why the Printing Plate Installation Process Matters
The printing plate is the heart of the flexographic printing process. It transfers the ink onto the bag material to create the desired image. A properly installed printing plate ensures sharp, clear prints, consistent color quality, and minimal waste. On the other hand, a poorly installed plate can lead to issues such as blurred images, uneven ink distribution, and frequent machine downtime for adjustments.
Step-by-Step Printing Plate Installation Process
Step 1: Preparation
- Inspect the Printing Plate: Before installation, carefully examine the printing plate for any damage, such as scratches, nicks, or debris. A damaged plate can cause printing defects and reduce the overall quality of the output.
- Clean the Plate Cylinder: Use a suitable cleaning solution and a lint-free cloth to clean the plate cylinder thoroughly. This removes any ink residue, dust, or other contaminants that could affect the plate's adhesion.
- Gather the Necessary Tools: You'll need a plate mounting tape, a plate cutter, a squeegee, and a ruler or measuring tape. Make sure these tools are clean and in good working condition.
Step 2: Cutting the Printing Plate
- Measure the Plate Cylinder: Use a ruler or measuring tape to determine the circumference and width of the plate cylinder. This will help you cut the printing plate to the correct size.
- Cut the Printing Plate: Using a plate cutter, carefully cut the printing plate to the measured dimensions. Make sure the cuts are straight and precise to ensure a proper fit on the plate cylinder.
Step 3: Applying the Plate Mounting Tape
- Select the Right Tape: Choose a high-quality plate mounting tape that is compatible with your printing plate and machine. The tape should have good adhesion and be able to withstand the printing process.
- Apply the Tape to the Plate Cylinder: Start at one end of the plate cylinder and carefully apply the tape, smoothing it out as you go to remove any air bubbles. Make sure the tape is evenly applied and covers the entire surface of the cylinder.
- Trim the Excess Tape: Use a sharp knife or scissors to trim the excess tape from the edges of the plate cylinder.
Step 4: Mounting the Printing Plate
- Align the Plate: Carefully place the printing plate on the plate cylinder, aligning it with the registration marks or guides. Make sure the plate is centered and straight.
- Apply Pressure: Use a squeegee to apply even pressure to the printing plate, starting from the center and working your way out to the edges. This helps to ensure good adhesion between the plate and the tape.
- Remove Air Bubbles: If there are any air bubbles trapped between the plate and the tape, use a pin or a needle to puncture them and then smooth out the plate with the squeegee.
Step 5: Final Checks
- Check the Alignment: Once the printing plate is mounted, double-check the alignment to make sure it is accurate. You can use a registration gauge or a visual inspection to verify the alignment.
- Check the Tension: Make sure the printing plate is tightly mounted on the plate cylinder. If the plate is too loose, it can cause printing problems. You can use a tension meter to measure the tension and make any necessary adjustments.
- Clean the Plate Surface: Use a clean, lint-free cloth to wipe the surface of the printing plate to remove any dust or debris.
Common Challenges and Solutions
Plate Slippage
- Cause: Plate slippage can occur if the plate mounting tape is not properly applied or if the plate cylinder is dirty.
- Solution: Make sure the plate mounting tape is evenly applied and that the plate cylinder is clean. You can also use a higher-tack tape or a plate locking system to prevent slippage.
Uneven Ink Distribution
- Cause: Uneven ink distribution can be caused by a poorly installed printing plate, a damaged anilox roll, or incorrect ink viscosity.
- Solution: Check the installation of the printing plate to make sure it is properly aligned and mounted. Inspect the anilox roll for any damage and replace it if necessary. Adjust the ink viscosity according to the manufacturer's recommendations.
Blurry Images
- Cause: Blurry images can be caused by a worn or damaged printing plate, incorrect printing pressure, or a misaligned plate.
- Solution: Replace the worn or damaged printing plate. Adjust the printing pressure to ensure a consistent and even transfer of ink. Double-check the alignment of the printing plate to make sure it is accurate.
Choosing the Right FFS Bag Flexo Printing Machine
At our company, we offer a wide range of FFS Bag Flexo Printing Machines to meet the diverse needs of our customers. Our Heavy Duty Bag Flexo Printing Machine is designed for high-volume production and can handle a variety of bag sizes and materials. Our FFS Film Flexo Printing Machine is ideal for printing on thin films and offers excellent print quality. And our Heavy Duty Bag Flexo Printing Machine is known for its reliability and durability.
Conclusion
The printing plate installation process is a critical step in the operation of an FFS Bag Flexo Printing Machine. By following the steps outlined in this blog and addressing common challenges, you can ensure that your machine produces high-quality prints consistently. If you're in the market for an FFS Bag Flexo Printing Machine or need more information about the printing plate installation process, don't hesitate to contact us. Our team of experts is ready to assist you in finding the right solution for your packaging needs. Let's start a conversation and explore how our machines can enhance your production process.
References
- Flexographic Printing Technical Association. (n.d.). Flexographic Printing Basics.
- Tronsmart Packaging Machinery Co.,Ltd. (2023). FFS Bag Flexo Printing Machine Operation Manual.