

Hey there! As a supplier of FFS Film Flexo Printing Machines, I often get asked about how to adjust the pressure of the impression cylinder. It's a crucial part of getting high - quality prints on your FFS films, so I'm gonna share some tips and tricks with you.
First off, let's understand why the pressure of the impression cylinder matters. The impression cylinder is responsible for transferring the ink from the printing plate to the film. If the pressure is too light, the ink won't transfer properly, resulting in faint or incomplete prints. On the other hand, if the pressure is too heavy, it can cause over - inking, smudging, and even damage to the printing plate or the film itself.

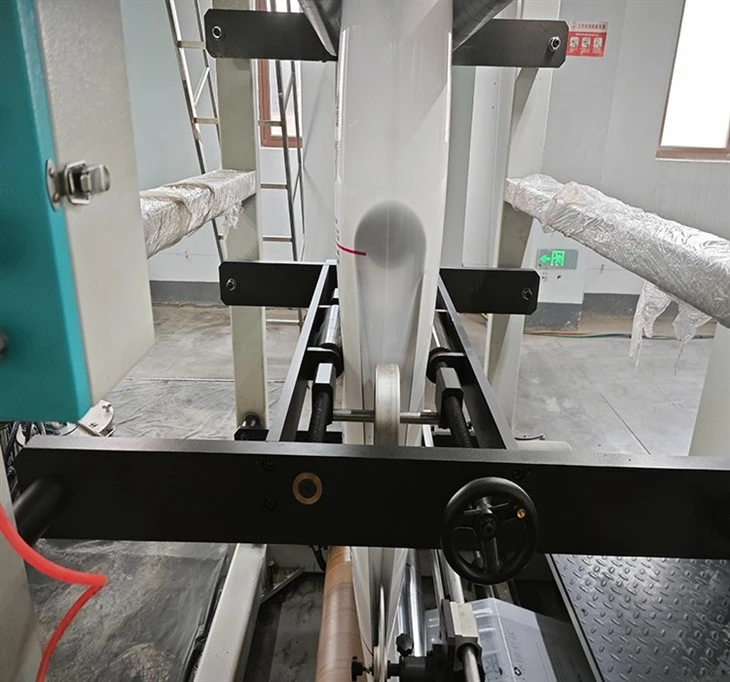
Tools You'll Need
Before we start adjusting the pressure, you'll need a few tools. A pressure gauge is a must - have. It helps you measure the exact pressure being applied by the impression cylinder. You'll also need a set of wrenches to make the necessary adjustments. And don't forget a clean cloth to wipe off any ink or debris from the cylinder and the printing plate.
Step 1: Check the Current Pressure
The first step is to check the current pressure of the impression cylinder. Use the pressure gauge to get an accurate reading. You can usually find the pressure gauge near the impression cylinder mechanism. Note down the reading so you have a baseline to work from.
It's important to do this check when the machine is at its normal operating temperature. This is because the pressure can change slightly as the machine heats up during operation.
Step 2: Inspect the Printing Plate and Film
Take a close look at the printing plate and the film. Look for any signs of uneven printing, such as light or dark spots. If you notice any issues, it could be a sign that the pressure needs adjustment.
Also, make sure the printing plate is properly installed and aligned. A misaligned plate can cause uneven pressure distribution, leading to poor print quality.
Step 3: Adjust the Pressure
Now, it's time to make the adjustments. Most FFS Film Flexo Printing Machines have a pressure adjustment mechanism. This could be in the form of screws or knobs that you can turn to increase or decrease the pressure.
If the prints are too light, you'll need to increase the pressure. Turn the adjustment screws or knobs clockwise to apply more pressure. Make small adjustments at a time, about a quarter - turn at first. After each adjustment, run a test print to see if the quality has improved.
If the prints are too dark or smudged, you'll need to decrease the pressure. Turn the adjustment screws or knobs counter - clockwise. Again, make small adjustments and test the prints.
Step 4: Check for Uniform Pressure
Once you've made the initial adjustments, it's important to check for uniform pressure across the entire width of the impression cylinder. You can do this by using a pressure - sensitive paper. Place the paper between the printing plate and the impression cylinder and run the machine for a short period.
When you remove the paper, you'll see a pattern of pressure marks. If the marks are uneven, it means the pressure is not uniform. You may need to make further adjustments to individual areas of the impression cylinder.
Step 5: Fine - Tuning
After you've achieved a relatively uniform pressure, it's time for some fine - tuning. Keep running test prints and making small adjustments until you get the perfect print quality. This may take a few tries, but it's worth it to get those sharp, clear prints.
Common Mistakes to Avoid
- Over - adjusting: Don't make large adjustments all at once. This can lead to over - inking or under - inking, and it can be difficult to correct.
- Not cleaning the cylinder: A dirty impression cylinder can affect the pressure and the print quality. Make sure to clean it regularly.
- Ignoring the temperature: As I mentioned earlier, the temperature can affect the pressure. Always check and adjust the pressure when the machine is at its normal operating temperature.
Related Machines
If you're interested in other types of printing machines for heavy - duty bags, we also offer the Heavy Duty Bag Flexo Printing Machine. It's designed to handle larger and more durable bags. And for inline printing on FFS heavy - duty bags, our FFS Heavy - duty Bag Machine Inline Printer is a great option. Of course, our FFS Film Flexo Printing Machine is perfect for high - quality film printing.
Conclusion
Adjusting the pressure of the impression cylinder in an FFS Film Flexo Printing Machine is a process that requires patience and attention to detail. By following these steps and avoiding common mistakes, you can achieve excellent print quality.
If you're in the market for a new FFS Film Flexo Printing Machine or need more advice on pressure adjustment, don't hesitate to reach out. We're here to help you get the most out of your printing equipment. Whether you're a small business just starting out or a large - scale manufacturer, we have the right solutions for you.
References
- "Flexographic Printing Technology" by various industry experts
- Manufacturer's manual for FFS Film Flexo Printing Machines