

How to Adjust the Pressure between the Anilox Roller and the Printing Plate in a PE CI Flexo Printing Machine
As a supplier of PE CI Flexo Printing Machines, I understand the critical role that proper pressure adjustment between the anilox roller and the printing plate plays in achieving high - quality printing results. In this blog, I'll share some in - depth knowledge on how to accurately adjust this pressure.
Understanding the Importance of Pressure Adjustment
The pressure between the anilox roller and the printing plate is a key factor in the flexographic printing process. If the pressure is too high, it can cause excessive ink transfer, leading to blurry images, smudging, and increased wear on the printing plate. On the other hand, if the pressure is too low, the ink may not be transferred evenly, resulting in poor print quality with missing or faint areas.
Tools Required for Pressure Adjustment
Before starting the adjustment process, you need to gather the necessary tools. A pressure gauge is essential for measuring the pressure accurately. You may also need a set of shims in different thicknesses to make fine - tuned adjustments. Additionally, a cleaning cloth is required to keep the anilox roller and the printing plate clean during the process.
Step - by - Step Pressure Adjustment Process
Step 1: Machine Preparation
First, ensure that the PE CI Flexo Printing Machine is powered off and in a safe state. Remove any residual ink from the anilox roller and the printing plate using a suitable cleaning agent and the cleaning cloth. This step is crucial as any ink residue can affect the pressure measurement and adjustment.
Step 2: Initial Pressure Measurement
Install the pressure gauge between the anilox roller and the printing plate. Slowly bring the two components into contact. Take multiple pressure readings at different points around the circumference of the anilox roller. Note down these readings as they will serve as a baseline for the adjustment.
Step 3: Coarse Adjustment
If the pressure readings are significantly different from the recommended pressure range for your specific printing job, start with a coarse adjustment. This can be done by adjusting the mechanical settings on the machine that control the distance between the anilox roller and the printing plate. For example, some machines have hand - wheels or levers that can be turned to increase or decrease the pressure.

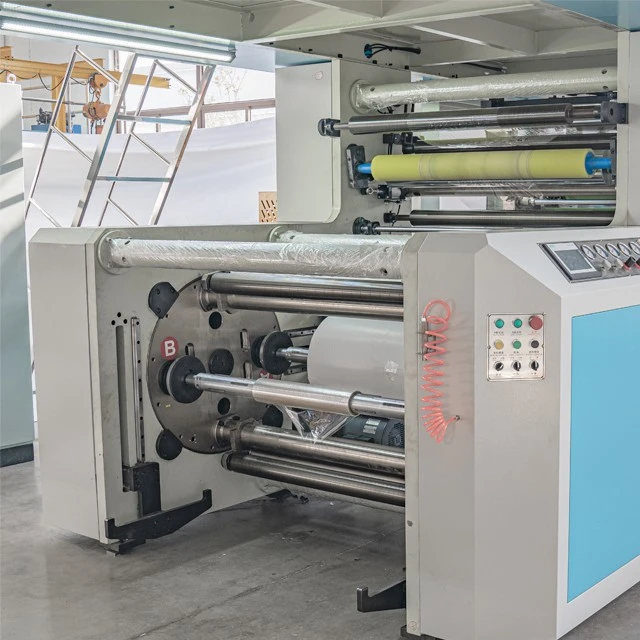
Step 4: Fine - Tuning with Shims
Once the coarse adjustment is made, it's time for fine - tuning. If the pressure is still not within the desired range, insert shims of appropriate thickness between the anilox roller and the printing plate. For instance, if the pressure is too low, insert a thin shim to increase the pressure slightly. After inserting the shim, re - measure the pressure and continue adjusting until the pressure is evenly distributed and within the recommended range.
Step 5: Final Checks
After the adjustment, run a test print. Inspect the print quality carefully. Look for any signs of over - or under - inked areas, blurring, or unevenness. If there are still issues, go back and make further adjustments to the pressure.
Common Issues and Solutions during Pressure Adjustment
Uneven Pressure Distribution
If you find that the pressure is unevenly distributed around the anilox roller, it could be due to a misaligned roller or a damaged printing plate. Check the alignment of the anilox roller and make sure it is parallel to the printing plate. If the printing plate is damaged, replace it with a new one.
Excessive Wear on the Printing Plate
Excessive pressure can cause premature wear on the printing plate. If you notice signs of wear, such as a loss of image detail or a change in the plate's surface texture, reduce the pressure. You may also need to check the hardness of the anilox roller as a very hard roller can contribute to plate wear.
Importance of Regular Maintenance
Regular maintenance of the anilox roller and the printing plate is essential for consistent pressure adjustment. Clean the anilox roller regularly to prevent ink build - up, which can affect the pressure distribution. Inspect the printing plate for any signs of damage or wear and replace it as needed.
Our Product Offerings
As a supplier of PE CI Flexo Printing Machines, we offer a wide range of high - quality machines. Our Plastic Bag CI Flexo Printing Machine is designed specifically for printing on plastic bags, providing excellent print quality and high productivity. The VersaPrint 4 - Color CI Flexo Press - Versatile And Reliable Performance is a versatile option that can handle various printing jobs with ease. And our 4 Color Central Drum Flexo Printing Machine is known for its precise printing and efficient operation.
Contact Us for Purchase and Consultation
If you are interested in our PE CI Flexo Printing Machines or need more information on pressure adjustment and other printing - related topics, we encourage you to contact us. Our team of experts is ready to assist you in choosing the right machine for your needs and providing comprehensive support for your printing operations. Whether you are a small - scale printer or a large - scale manufacturing plant, we have the solutions to meet your requirements.
References
- "Flexographic Printing: Principles and Practices" by Fred W. Schmid
- "Handbook of Flexographic Printing" edited by Paul F. Smith