

Hey there! As a supplier of Ci Flexo Printing Machines, I've seen firsthand how crucial it is to properly adjust the doctor blade. A well - adjusted doctor blade can significantly improve the quality of your prints, reduce waste, and increase the overall efficiency of your printing process. In this blog, I'll walk you through the steps on how to adjust the doctor blade in a Ci Flexo Printing Machine.
Why is Doctor Blade Adjustment Important?
Before we dive into the adjustment process, let's talk about why it matters. The doctor blade's main job is to remove the excess ink from the anilox roll, leaving only the right amount of ink in the cells for transfer to the printing plate. If the doctor blade isn't adjusted correctly, you might end up with issues like ink streaks, uneven ink distribution, or even damage to the anilox roll and the blade itself.
Tools You'll Need
First things first, gather the necessary tools. You'll need a set of feeler gauges, a torque wrench, a cleaning cloth, and some ink solvent. These tools will help you make precise adjustments and keep your equipment clean.
Step 1: Prepare the Machine
Before you start adjusting the doctor blade, make sure the machine is turned off and unplugged for safety. Then, clean the anilox roll and the doctor blade holder thoroughly using the cleaning cloth and ink solvent. This will remove any dried ink or debris that could affect the adjustment.
Step 2: Check the Blade Alignment
The first step in adjusting the doctor blade is to check its alignment. The blade should be parallel to the anilox roll across its entire length. You can use a straightedge to check the alignment. If the blade is misaligned, loosen the mounting bolts on the blade holder slightly. Then, use a feeler gauge to measure the gap between the blade and the anilox roll at several points along the length of the roll. Adjust the position of the blade holder until the gap is consistent across the roll. Once you're satisfied with the alignment, tighten the mounting bolts using the torque wrench to the manufacturer's recommended torque settings.
Step 3: Set the Blade Pressure
The next step is to set the correct blade pressure. Too much pressure can cause excessive wear on the blade and the anilox roll, while too little pressure won't remove the excess ink effectively. Start by setting the pressure at a low level. You can use the machine's pressure adjustment mechanism to do this. Then, run a test print. Check the print for ink streaks or uneven ink distribution. If you see these issues, gradually increase the blade pressure and run another test print. Keep adjusting the pressure until you get a clean, even print.
Step 4: Fine - Tune the Angle
The angle of the doctor blade also plays a crucial role in its performance. A blade with the wrong angle may not be able to remove the ink properly. Most Ci Flexo Printing Machines allow you to adjust the blade angle. Start by setting the angle according to the manufacturer's recommendations. Then, run a test print. If the print quality isn't satisfactory, you can fine - tune the angle slightly. A steeper angle may be better for removing thick or viscous inks, while a shallower angle may work better for thinner inks.
Step 5: Regular Maintenance
Once you've adjusted the doctor blade, it's important to perform regular maintenance. Check the blade and the anilox roll for wear and tear regularly. Replace the blade when it shows signs of excessive wear, such as nicks or dull edges. Also, keep the blade holder clean and lubricated to ensure smooth operation.
Common Problems and Solutions
Even with proper adjustment, you may encounter some problems with the doctor blade. Here are some common issues and how to solve them:
- Ink Streaks: If you see ink streaks on your prints, it could be due to a misaligned blade, incorrect blade pressure, or a dirty anilox roll. Check the alignment and pressure of the blade, and clean the anilox roll.
- Uneven Ink Distribution: This could be caused by a worn - out blade or an uneven anilox roll. Replace the blade if it's worn, and check the anilox roll for damage.
- Blade Chattering: Blade chattering can occur if the blade pressure is too high or the blade is loose. Reduce the blade pressure and make sure the blade is securely mounted.
Conclusion
Adjusting the doctor blade in a Ci Flexo Printing Machine is a skill that takes time and practice. But by following these steps and performing regular maintenance, you can ensure that your machine produces high - quality prints consistently.
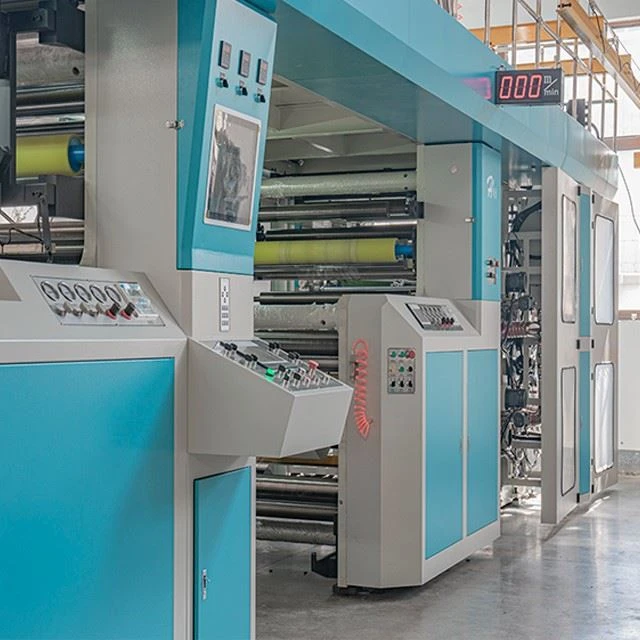
If you're in the market for a new Ci Flexo Printing Machine, we've got some great options for you. Check out our 4 Color CI Flexo Printing Machine, 4 Color Central Drum Flexo Printing Machine, and High Speed 4 Color 1500mm CI Flexo Printing Machine.

If you have any questions about doctor blade adjustment or our printing machines, don't hesitate to reach out. We're here to help you make the most of your printing operations. Contact us to start a discussion about your specific needs and see how we can assist you in achieving the best results with your printing projects.
References
- Flexographic Printing Technical Association (FPTA) publications
- Manufacturer's manuals for Ci Flexo Printing Machines